Tuesday, 10 March 2015

Review: NARS All Day Luminous Weightless Foundation

I have been in a little bit of a foundation rut over the last few months. My skin was not cooperating and to gain some sense of control I went back to some old favourites. However, I had heard so many great things about NARS' new foundation I decided that it was worth giving it a try and I am very happy that I did!
The new NARS All Day Luminous Weightless Foundation* has been designed to give full, yet natural looking coverage, which feels weightless and lasts for 16 hours. The special Even Tone Technology is designed to instantly neutralize redness and dullness, while working long-term to reduce the appearance of discoloration for more even, uniform skin. Gold and green pigments optically manipulate how light reflects off skin's surface, evening the complexion for instant luminosity. Green pigments negate redness on contact, while gold combats dullness.

This foundation works really well for my combination oily skin. It provides medium to full buildable coverage, while not looking or feeling heavy. The formulation does feel quite 'dry' and reminds me a little of the YSL Teint Radiance, giving a matte finish. A little definitely goes a long way! It wears well throughout the day and though it didn't keep my oil at bay for 16 hours after applying it at 7am it still looked good at 8pm, although a lot more dewy.

Have you tried the new NARS All Day Luminous Weightless Foundation?

SHARE:

Sunday, 8 March 2015

OOTD: Reiss

With the lovely weather we have been having in London on Friday I finally felt brave enough to hang up my Winter coat and take my new jacket (originally puchased in the Christmas sales) out of hibernation!
I love the light grey colour as my recent grey obsession continues. It's fitted really well, which makes it perfect for work, but it's thick enough to protect you from the City wind (and if you have stood next to the Walkie Talky building  you will know what I mean)!

The Porter fitted coat is currently on sale in Reiss for £95 here.
SHARE:

Saturday, 7 March 2015

Review: Narsissist Dual-Intensity Eyeshadow and Blush, Contour and Lip Palettes

This week I have been having a little bit of a narcissistic love affair with the new Narsissist products!
 (flash)
 (no flash)

The Dual-Intensity Eyeshadow Palette* is absolutely stunning. The colours are rich, pigmented and so easy to work with as they can be used both wet and dry. I have played around with them using both methods and have particularly liked using them wet over the lid for a foiled effect and then blending them out dry through the crease and under the eye to create a really intense smokey eye.
 (swatched wet and dry)

The shades include: Europa, Himalia, Ursa Major, Subra, Andromeda, Lysithea, Giove and Sycorax.
 (with flash and without flash)

The Blush, Contour and Lip Palette is the perfect compact travel companion. It has everything you need for the lips and cheeks including 3 blushes (Enrapture, Enthralled and Roman Holiday), Albatross Highlighter, Laguna Bronzer and even a mini Istria Lip Gloss.
The Dual-Intensity Eyeshadow Palette is £45 and the Blush, Contour and Lip Palette is £35. You can find both the palettes on the Nars website here.

Have you tried the new Narsissist Palettes?
SHARE:

Wednesday, 4 March 2015

OOTD: A little Alexander McQueen...

Many of you have messaged me to request a few more OOTD posts in addition to the myriad of stream of consciousness photos I upload on my Instagram (@NatalyaFGM). So, I thought I would start with this fun one from last year on my Birthday! Since I'm not getting any younger I thought I would put together something a little more different to celebrate turning 25... again ;p.
It all started with the dress! I spotted this Alexander McQueen envelope dress in an outlet mall near Florence of all places. Despite it being heavily discounted I needed some convincing as I didn't think it was particularly flattering (there are about 600 folds of fabric at the waist, enough to make a tent), but in the end I decided that it was a piece of art worth investing in!
A few months later I still hadn't found an occasion to wear my first Alexander McQueen purchase. It was a little too short and eye catching for a wedding and the UK was getting colder by the second!

In the meantime I had come across these fabulous Carvela Kurt Geiger Gylda lace ups that I like to think of as a grown up gladiator. With their sharp high heel and cut outs the hubby instantly got excited and offered to purchase them for my Birthday. He rarely has any opinion on shoes, other than ranting that I have far too many (which is true), but given his enthusiasm I knew these must be pretty special.
So when my Birthday finally came around at the end of October I decided that it was time to try out the two most adventurous items in my wardrobe... despite the cold and rain! As Miley so wisely put it... it's our party and we can do what we want!
SHARE:

Tuesday, 3 March 2015

Paleo (gluten/grain/sugar free) Carrot Cake Recipe

Since adopting the Paleo lifestyle (80/20) and paying more attention to my food intolerances I have found it pretty easy to adapt most aspects of my everyday diet, but it has been far from simple when it comes to desserts. I have an extremely sweet tooth and find that most 'healthier' dessert options simply lack flavour so have let many decadent treats slip back into my meals. Often, I feel that after a healthy day of nutritious meals I undo much of my good work with a dairy and sugar laden dessert in the evening. So, last week I decided that I was going to make one of my favourite cakes in a paleo(ish) way – no grains, gluten, sugar (but I couldn’t resist a little dairy). I surprised myself (and especially my hubby) with how well it turned out. He is incredibly suspicious of any healthy versions of traditional recipes, but he loved this one as it simply tasted like a delicious carrot cake! Success!!
I am not terribly competent in the kitchen so I have made this recipe super easy to follow.  You can easily substitute various things and I have put in links for more tricky ingredients that I wasn’t able to purchase in my local supermarket.


Serves 6-8
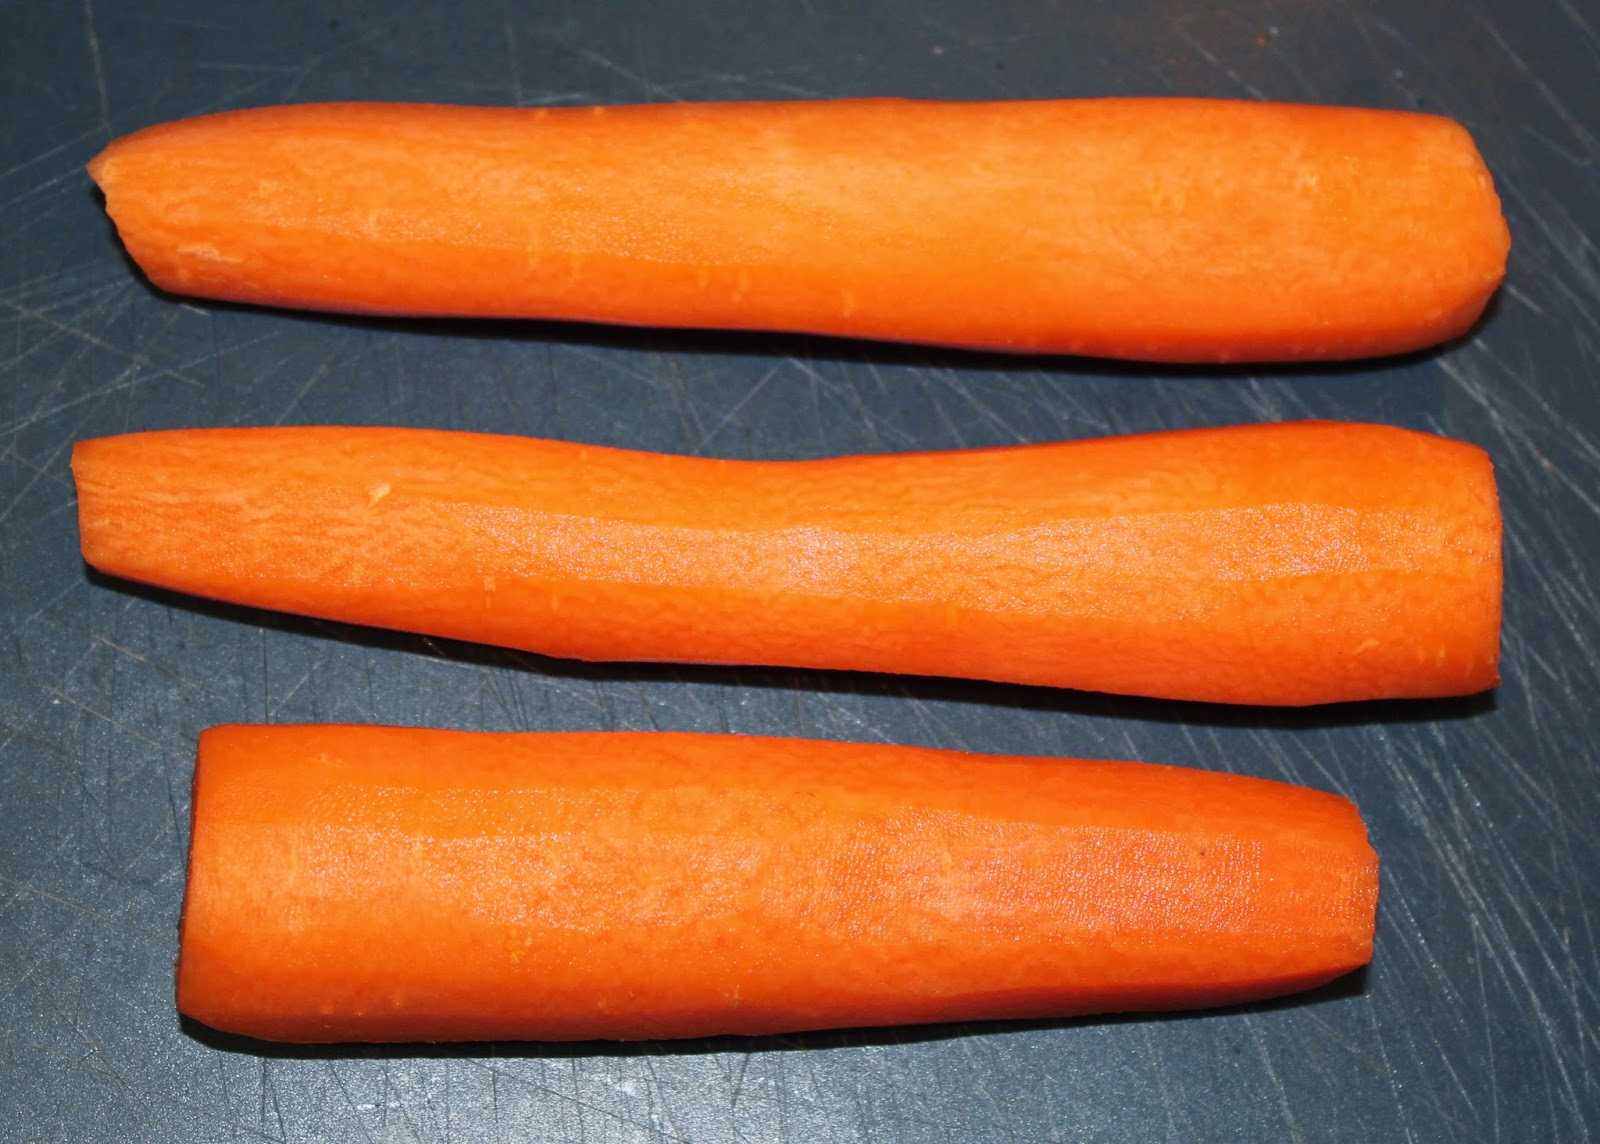
  • 3 raw carrots (peeled and grated)
  • 12 tablespoons Dark Agave Syrup (you can also use Maple Syrup or Coconut Nectar)     
  • 6 tablespoons (sifted) Coconut Flour
  • ½ tablespoon of ground Cinnamon
  • ½ teaspoon of Baking Soda
  • ½ teaspoon of Sea Salt (or ground pink Himalayan salt)
  • 5 Eggs
  • 6 Dates (I love Medjool dates and these are my absolute favourite)
  • 1 tablespoon Vanilla Extract
  • 100ml (melted) Organic Coconut Oil
  • 150g Cream Cheese
  • 50g Creamed Coconut
  • 1 tablespoon (grated) Ginger Root
  • Handful of Walnuts
Here we go:  
1. Peel and grate 3 carrots.


 2. Place carrots into a ziplock bag and add 8 tablespoons of agave syrup  
3. Leave this to marinate in the fridge for an hour  
4. In a small mixing bowl mix sifted coconut flour, cinnamon, salt and baking soda.
 5. Put pitted dates into microwaveable bowl and add 3 tablespoons of water.  
6. Heat in microwave for 30 seconds, mash mixture with a fork.  
7. Add another tablespoon of water to the mixture, microwave, mash and stir until mixture is an even consistency.
 8. Turn on your oven (I have a fan oven and set it at 150C).  
9. In a mixing bowl combine eggs, 1/2 tablespoon vanilla extract, melted coconut oil and date mixture.  
10. Add the dry ingredients in small sections to the mixing bowl with wet ingredients.
 11. Be careful at this stage as the coconut oil may start to solidify forming lumps (especially if the room is cool). Mix vigorously, but if it’s still lumpy you can pop the mixture in the microwave for 10 seconds to help the oil melt.  
12. Take the carrots from the ziplock bag in the fridge and drain excess liquid.  
13. Stir carrots into cake batter.
14. Grease a baking tray with coconut oil (I also use paper for easy removal).
15. Pour the batter into the baking tray and place into your preheated oven. 
 16. Leave to bake for 40 mins (but this is very much subject to your oven so I would recommend checking it at 30 mins and then every 5mins thereafter).  
17. Once baked remove cake from oven and let it cool.
 18. For the cream cheese frosting it is best to use soft cheese at room temperature. 
19. Combine the cheese and creamed coconut through a metal sieve into a bowl (this is the best way to get both ingredients to fuse and ensure there are no lumps while giving it a smooth, slightly whipped texture). If you are intolerant to dairy use the creamed coconut with a little Stevia or alter the cream cheese to creamed coconut ratio.
 20. Add the remainder of the agave syrup, vanilla and grated ginger to the bowl and mix well.
21. Once your cake is cool ice cake with cream cheese frosting and sprinkle with walnuts!


22. Enjoy with a cup of tea and relax!

I hope that you find this recipe useful and please do let me know if you try it out!!
SHARE:
© Natalya's Beauty Blog- Filthygorgeousmakeup. All rights reserved.
BLOGGER TEMPLATE DESIGNED BY pipdig